


Tetrapak Printing
Tutorial and Supply List from a Very, Very Beginner!

Today is Day 26 of the 100 Day Project I’d like to share my new new experience so far, by way of a how-to, as I’ve had a lot of inquiries, strangely. I am first getting the basic process down and exploring mark making. I’ve already learned so much from the doing and from the generosity of others who have spent years printing.
What is Tetra Pak Printing?
First, what is Tetra Pak?
Tetra Pak Swedish company that specializes in food packaging. They are known for their iconic paper-based cartons, used for milk, broths, &c. Tetra Pak emphasizes sustainability in its operations, aiming to reduce the consumption of resources and energy while ensuring the safety of food products.
It is also a magical carton, in which, after enjoying and washing the contents, can be cut apart and used as a sub straight - or plate - for print making!
The tutorial is at the bottom — First, here are the supplies I’ve gathered:
Supply List:
Press(es):
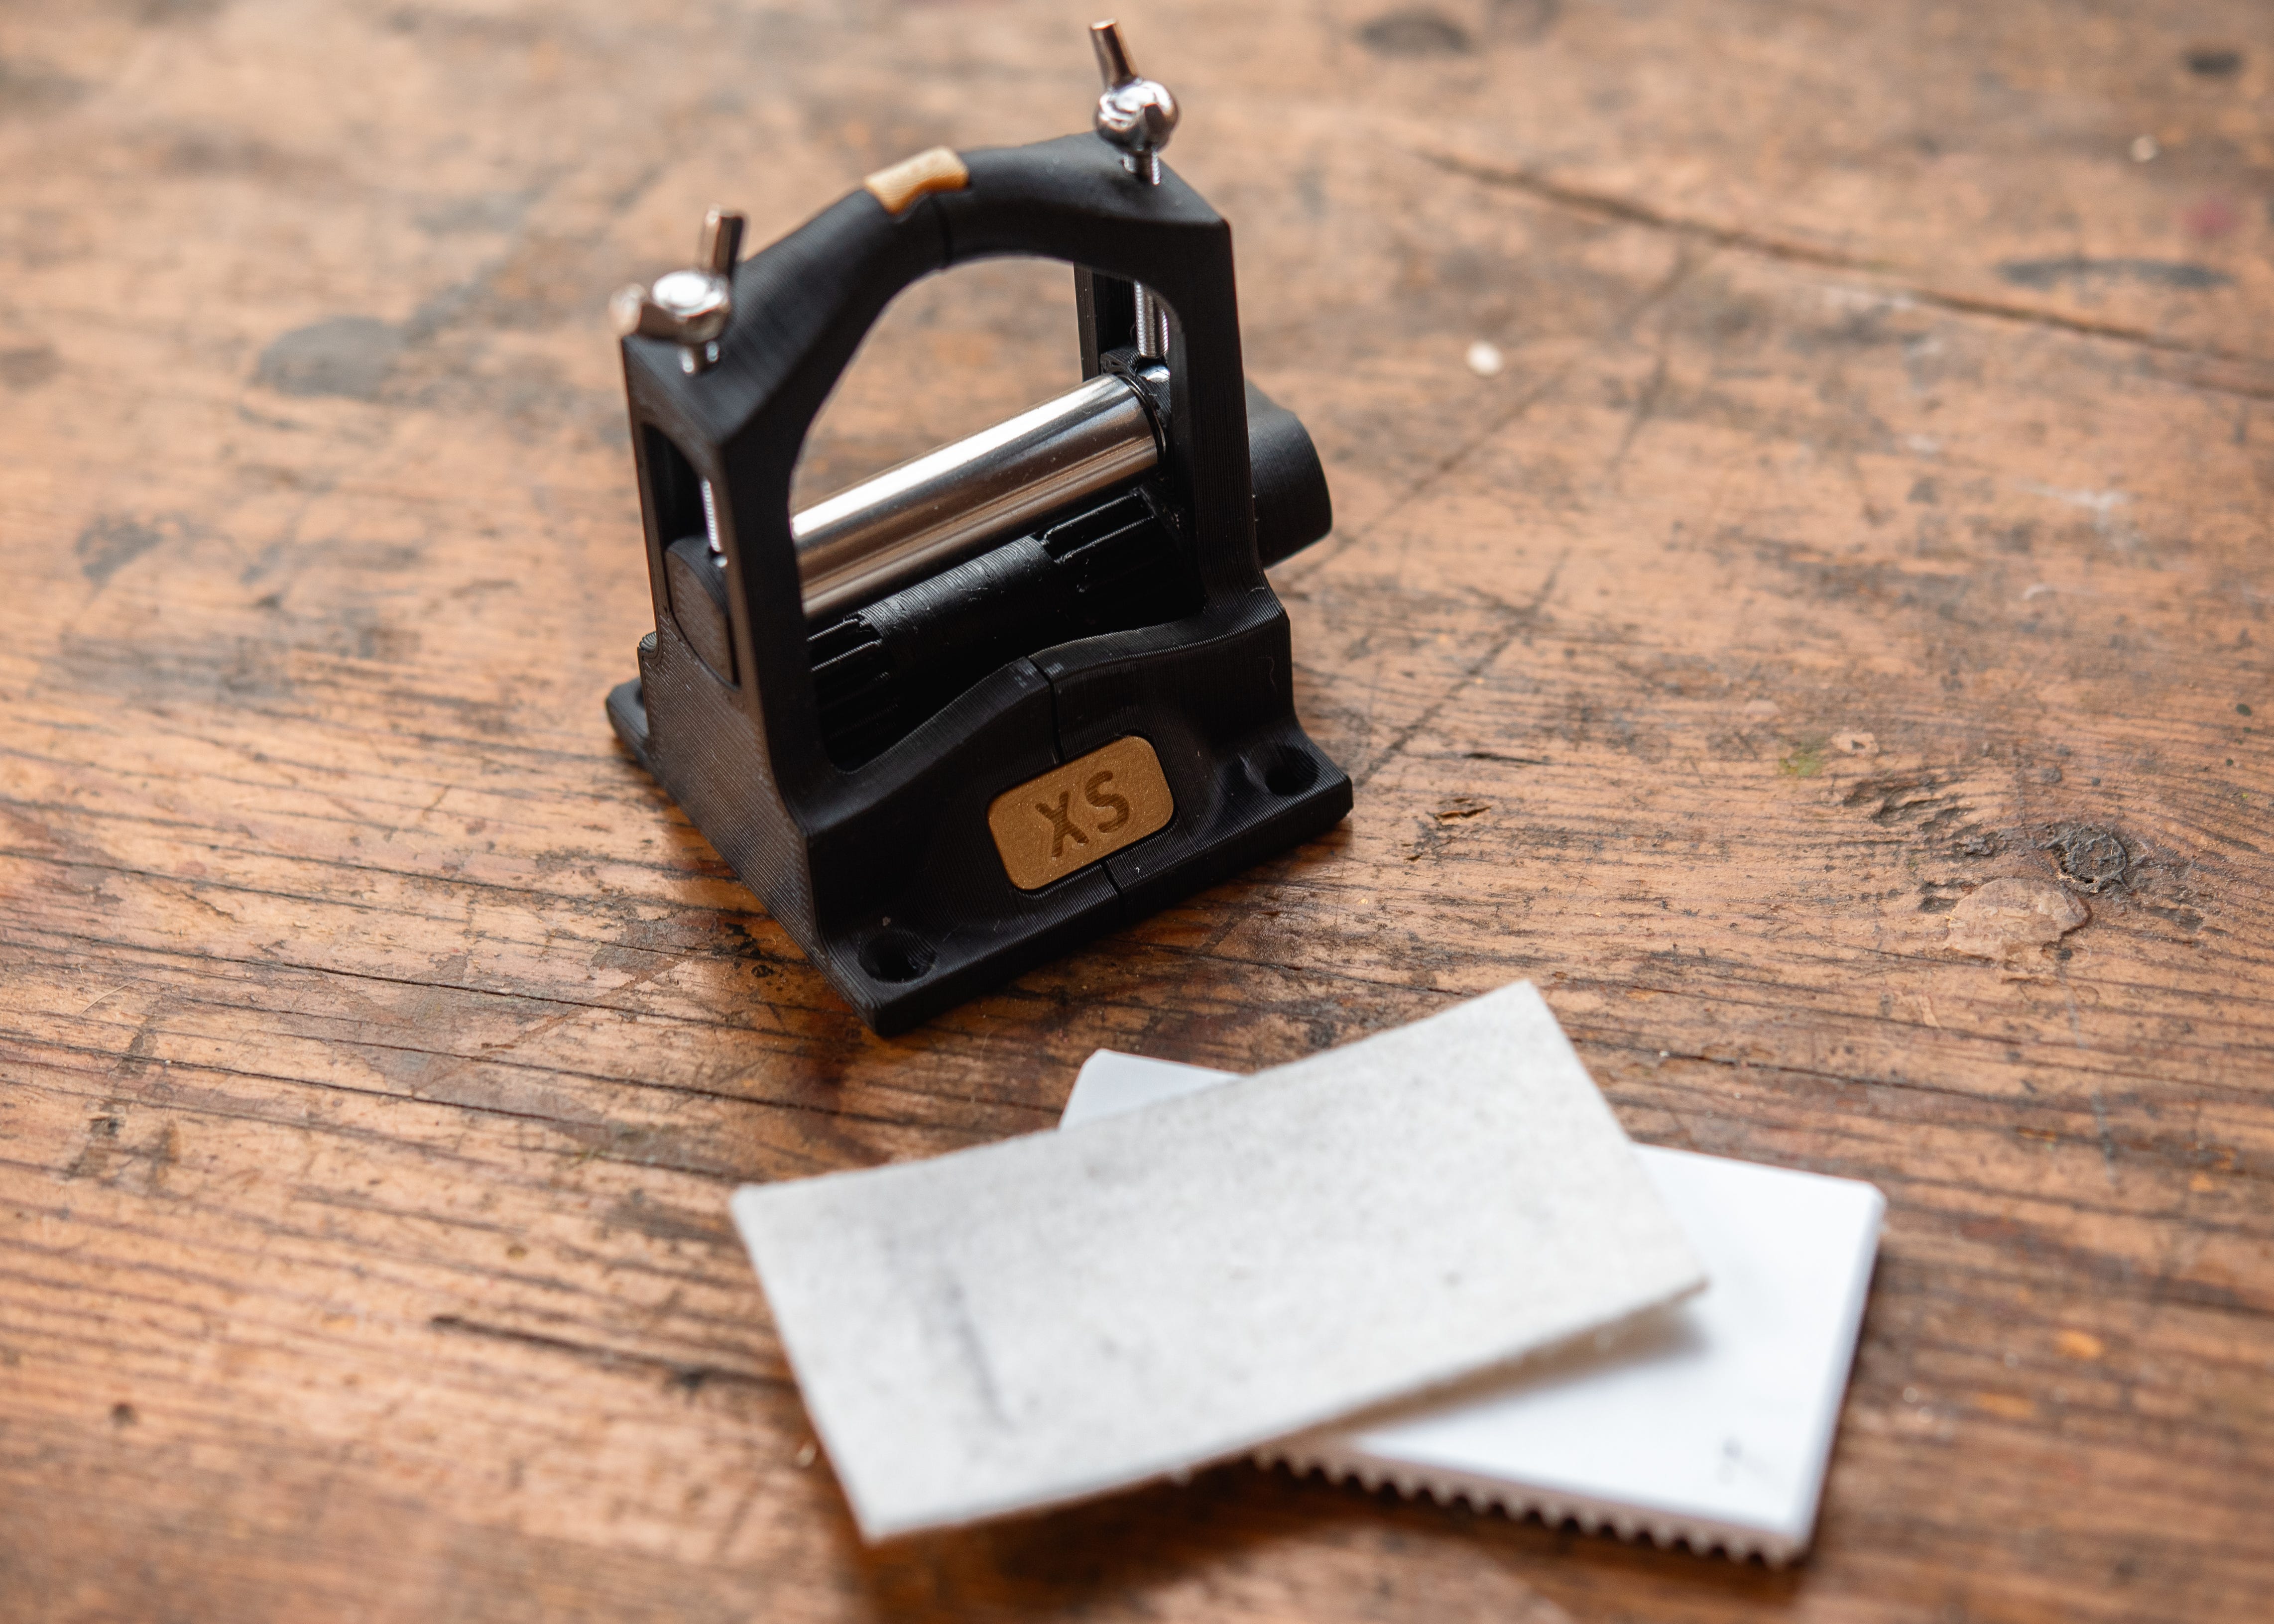
This sweet attention getter is from Open Press Project. It is 3D printed and a wonder to hold and use and photograph. It fits nicely in my Pipit Tote with all of my other printing supplies — great for an on-the-go adventure! At home, I use my noodle press which produces better quality prints overall. I’ve heard from others that lino printing and other print processes work great with this press!
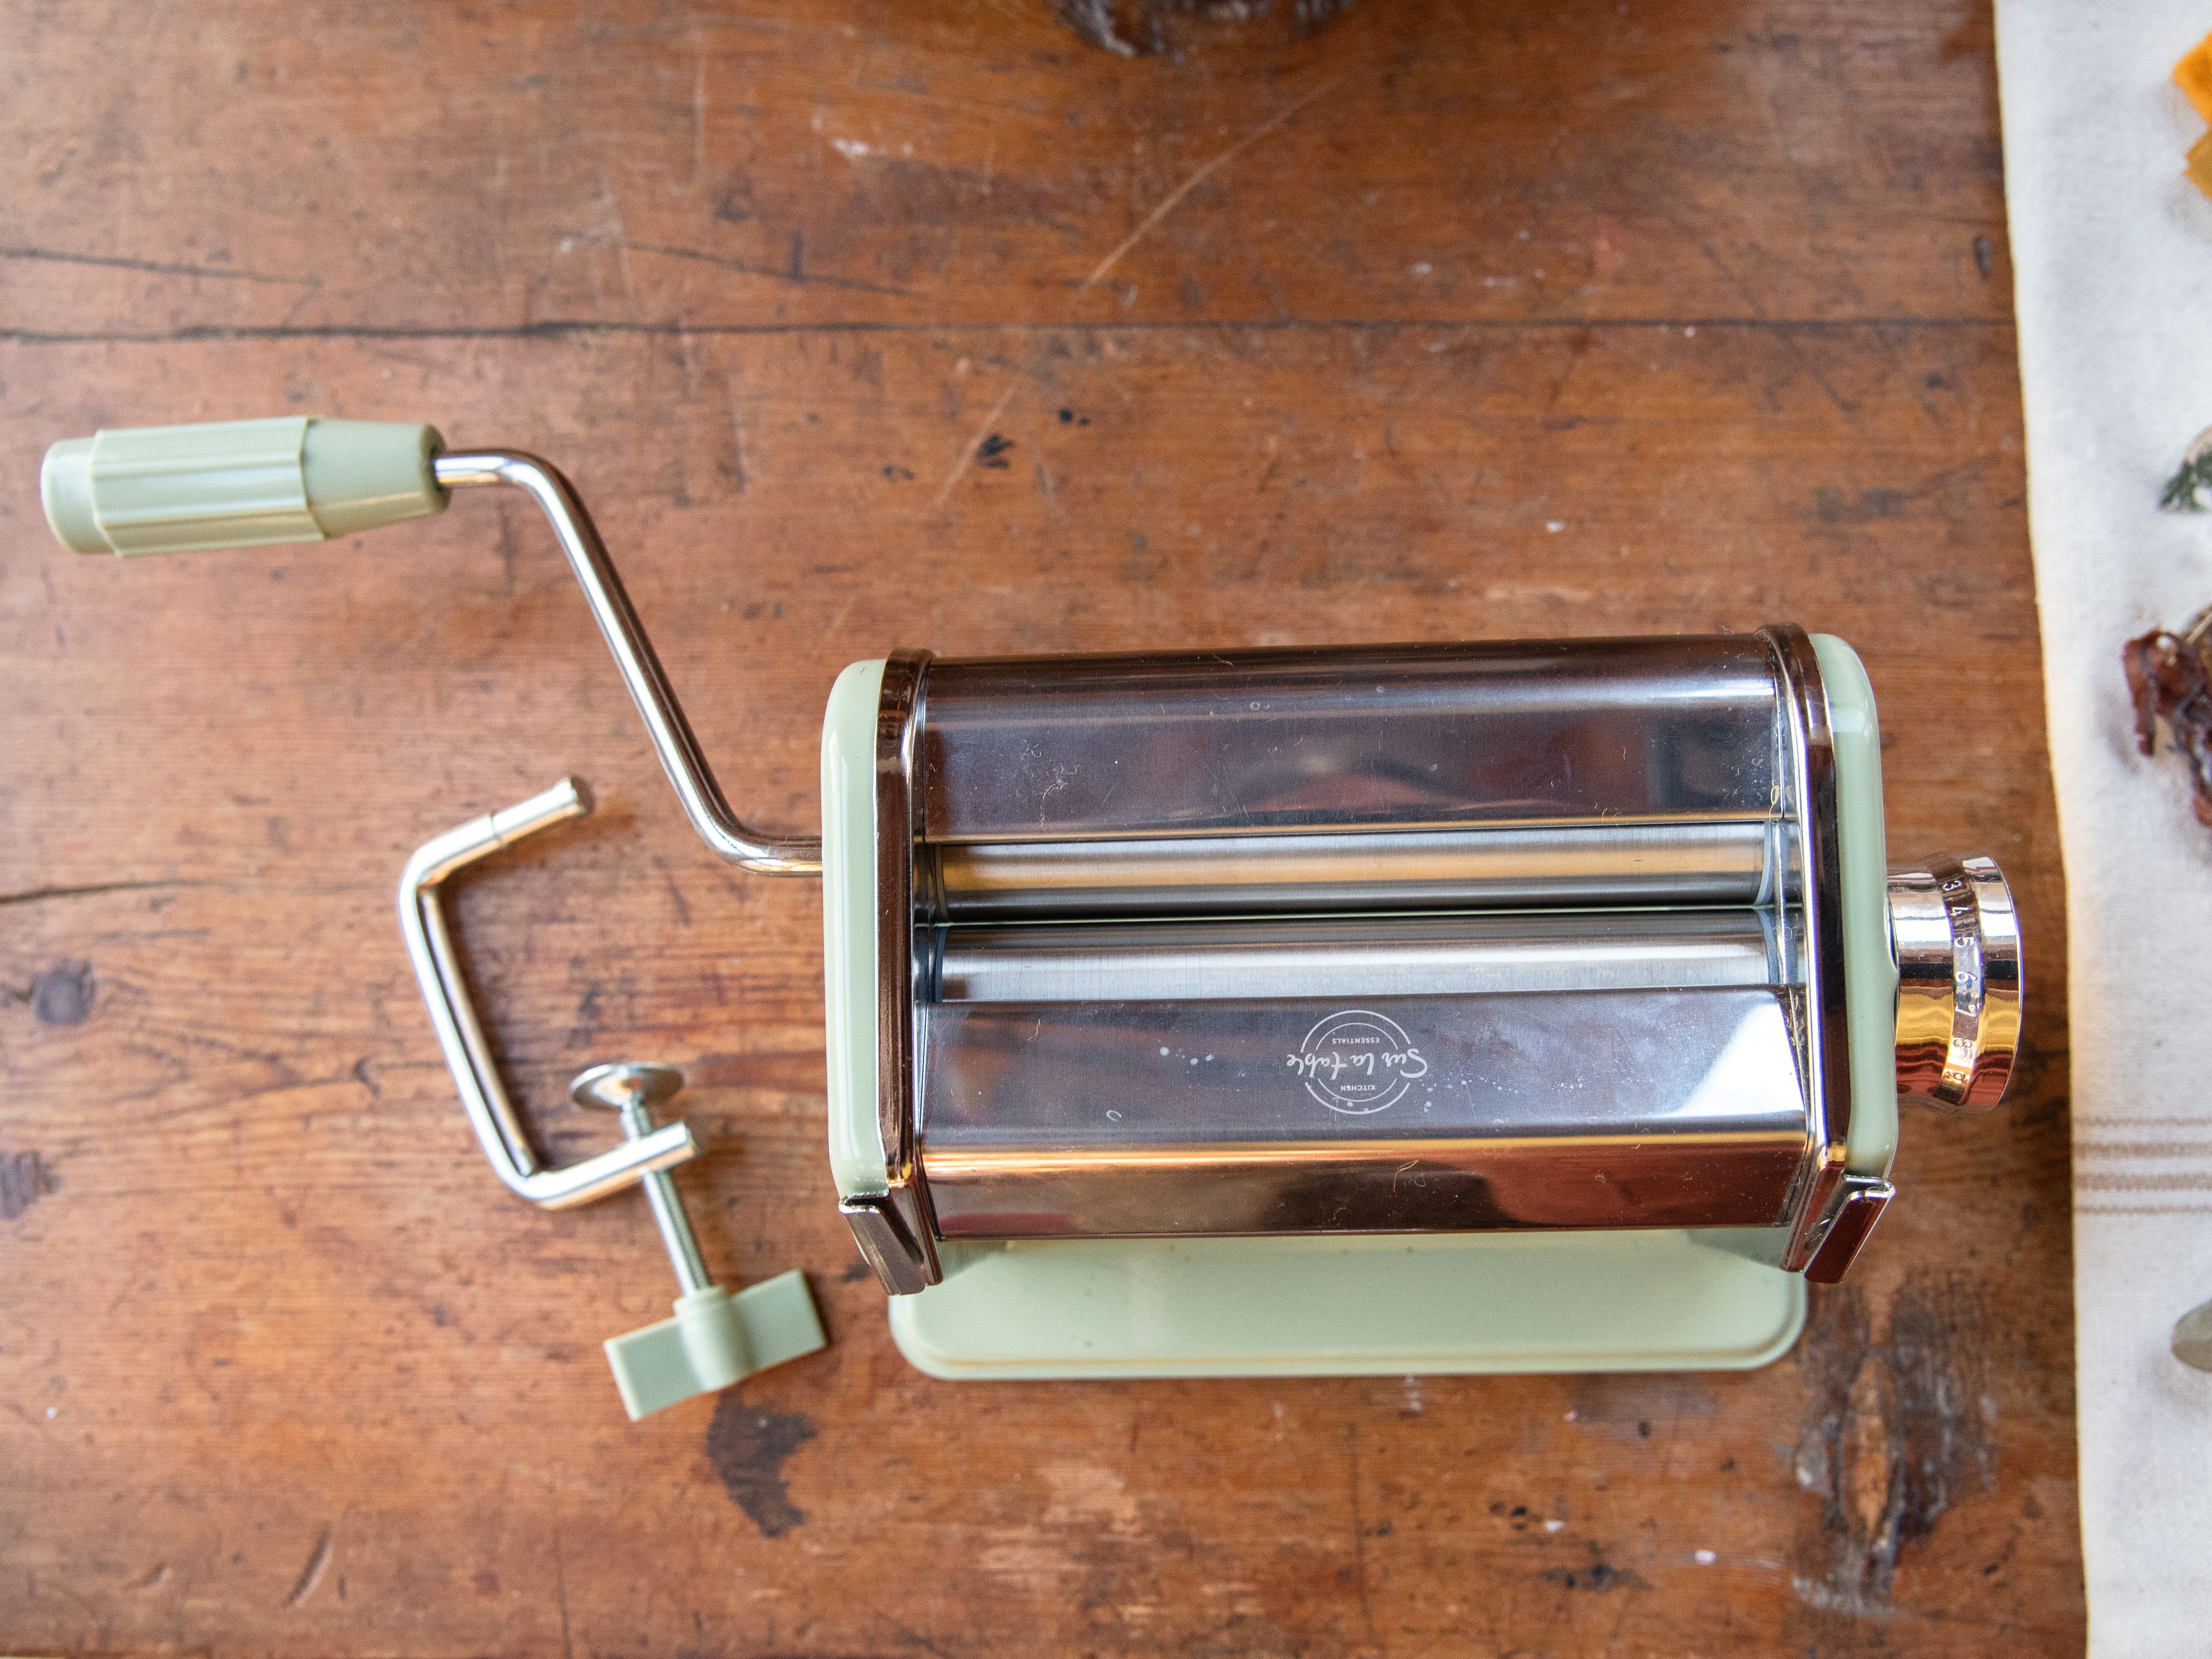
This is my Noodle Press. Inexpensive and easy to use and store away (though it’s been on my desk since I got it!) Makes great prints at a variety of sizes. This brand is Sur la table. I chose it because of it’s colour. They make fancy presses, but this was inexpensive one. Ps: they are called pasta presses but noodle press is more fun to write and say.


Tiny tin with pre-cut or torn paper (as I went on I became way less specific and cut my pieces from scrap with a yard sale paper cutter.)
Antique Awl for mark making. I also purchased a litho round etching needle for smoother more distinct line making.
Piece of plastic to spread the ink on the plate, scrap of paper to ink on, paper towel to wipe away excess ink. Baren is the name of the thing I couldn’t remember in the video. I’ll make one someday. It is a proper ink spreader.
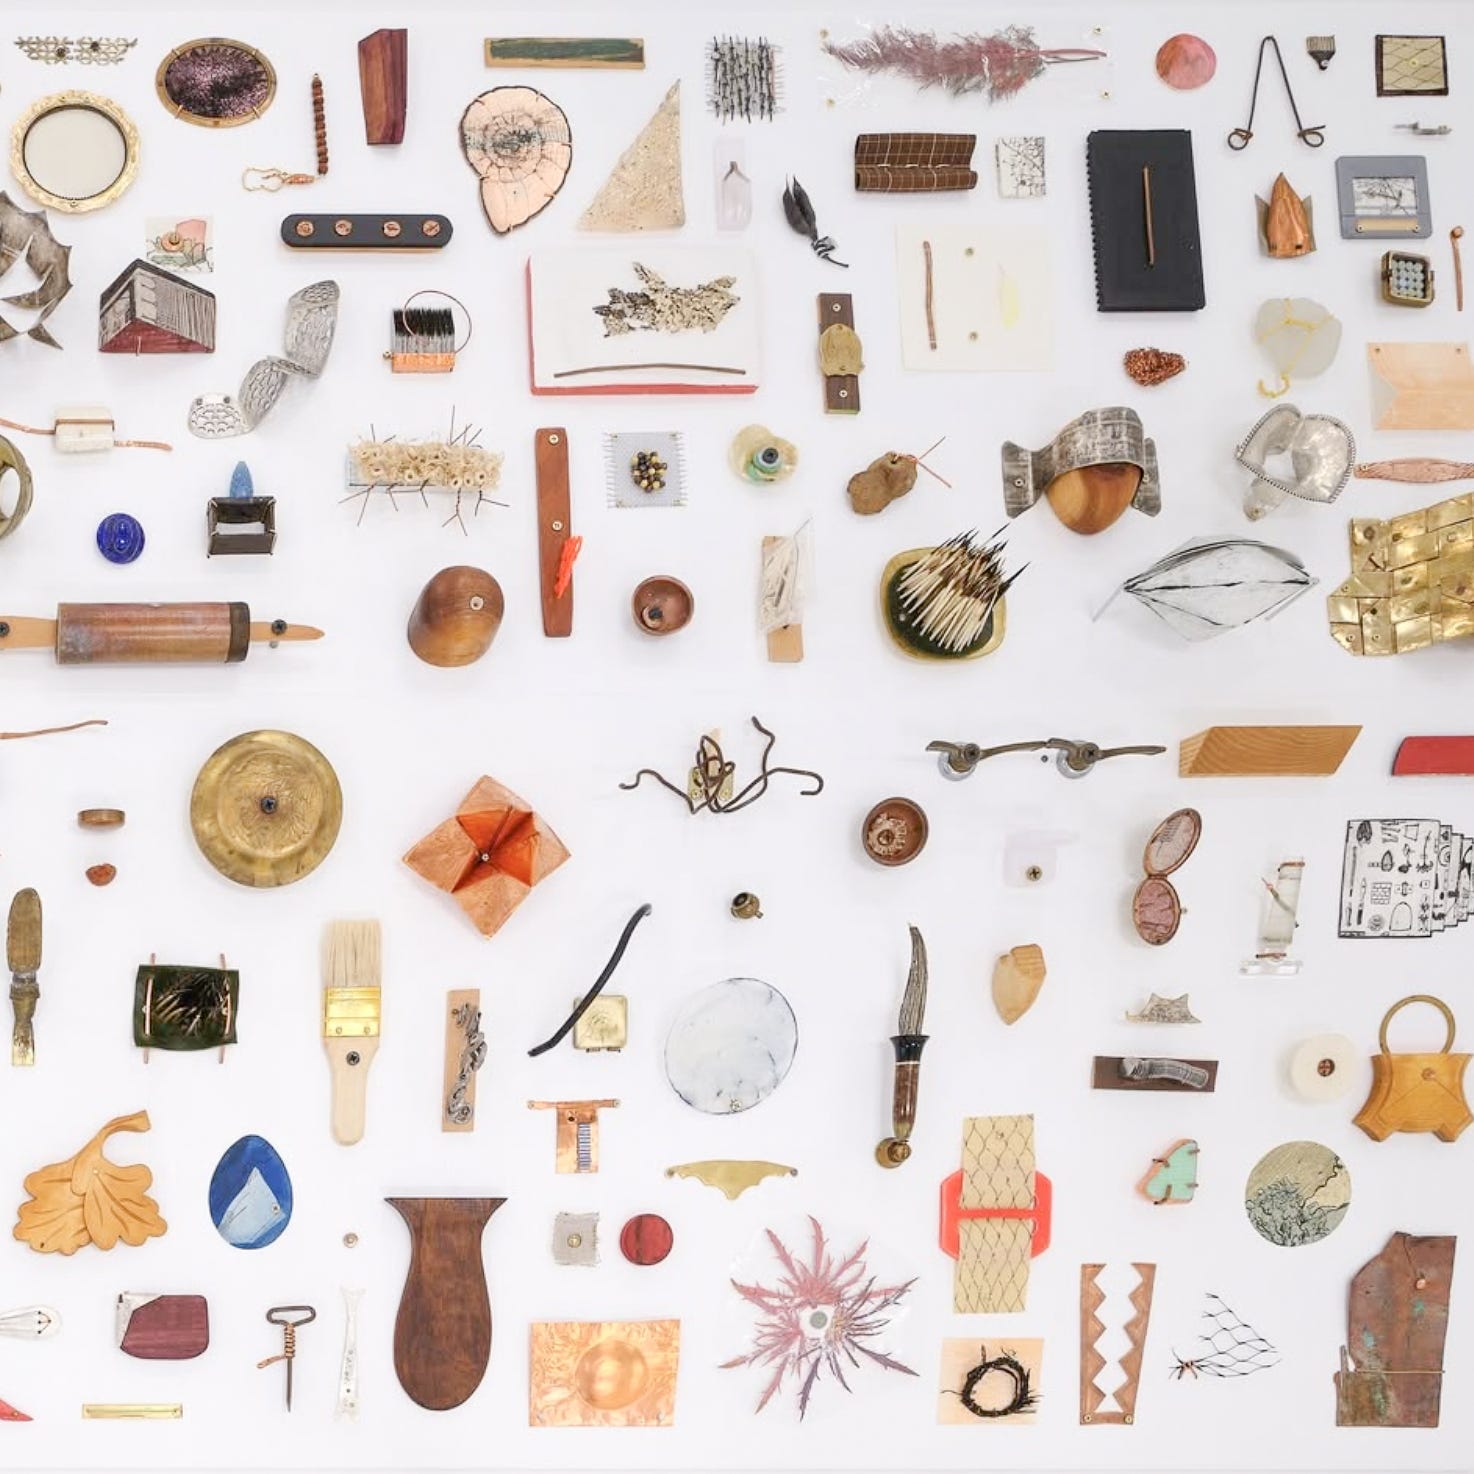
Tetrapak — Starting with trash makes me happy. Little by little does a lot!
Vessel for wetting paper. Porcelain sardine tin from Heirloom Home and Garden
Felt. White printer’s felt is so satisfying, but this inconsistent crafter’s felt works too. I taped two together and ran it through the press many times compressing the felt until it was slurped in via the tape and ran through smoothly.
Scissors! My favourite pair that I found in Silas’s preschool trash are still holding up of course!
Blotter paper — I tear it into small sizes and it absorbs the water so quickly. I can use the smalls (even when smudgy) for days and many prints!
Ink! I am enjoying the creaminess of the Schminke and also prefer the metal tube. The stickiness of the Speedball is nice but a big plastic eye sore.
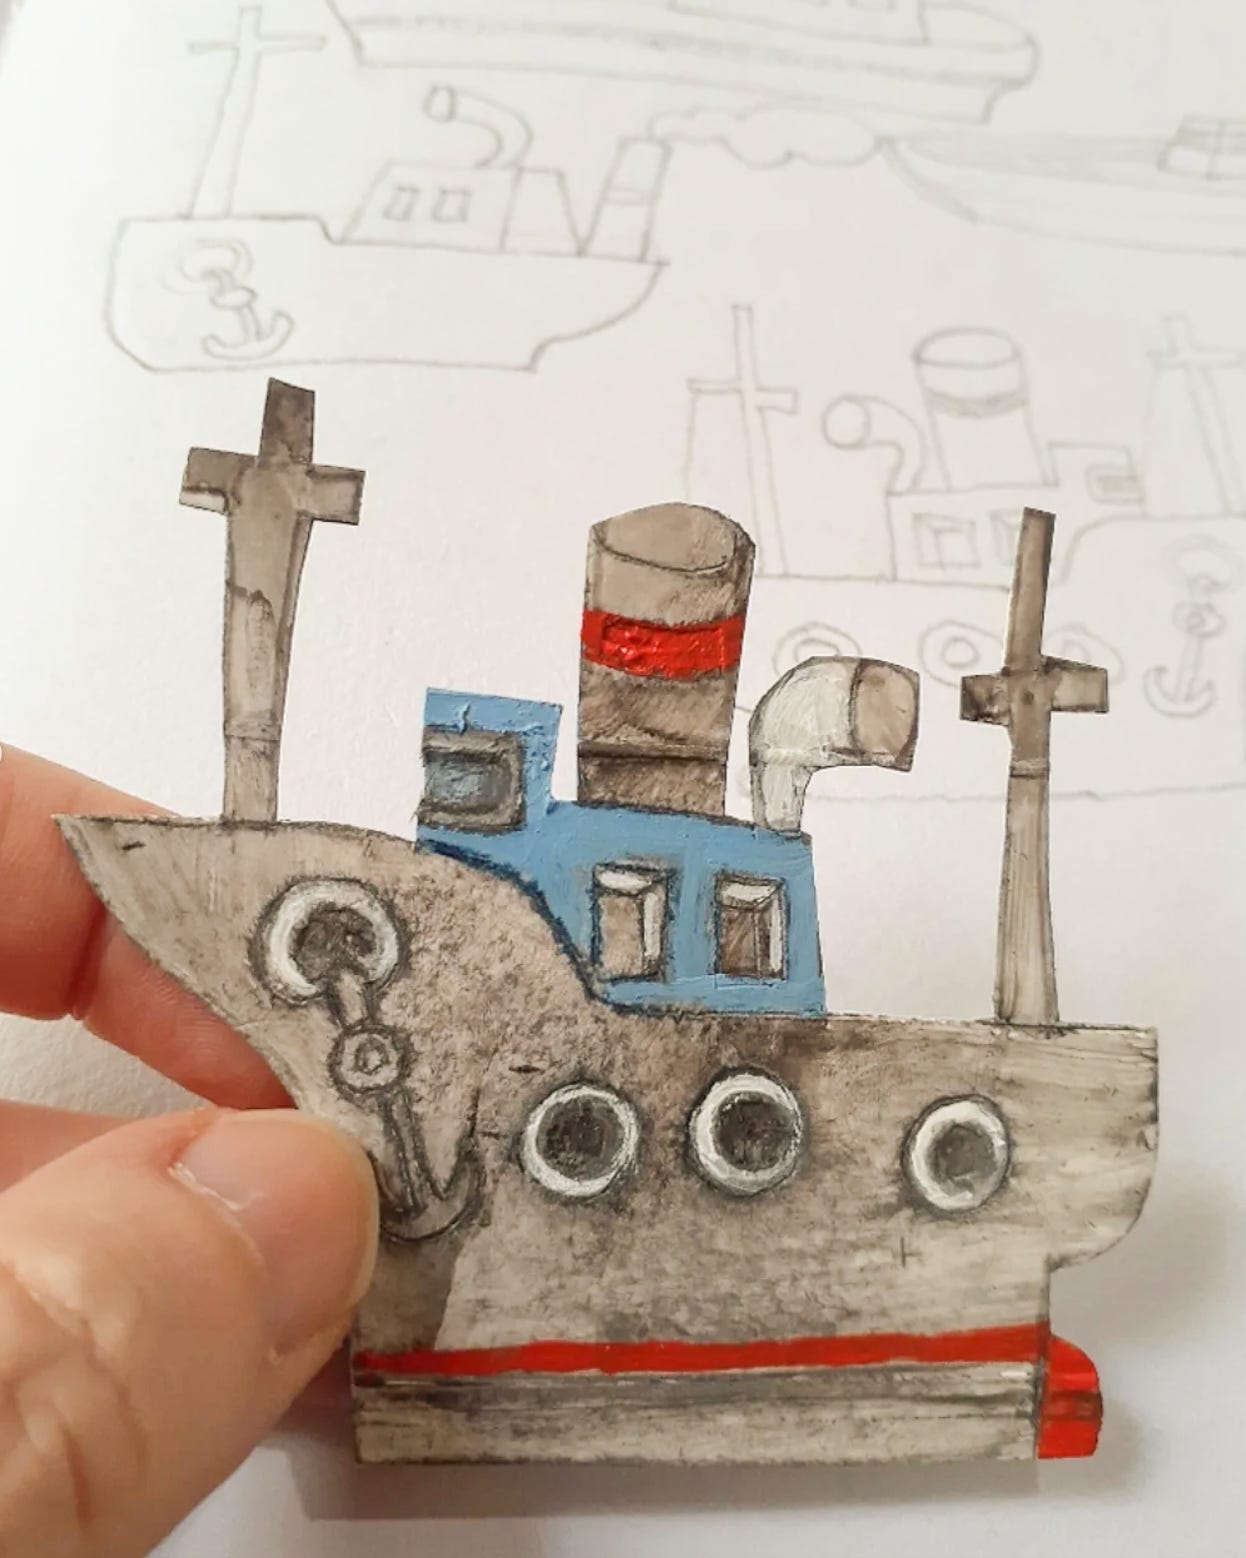
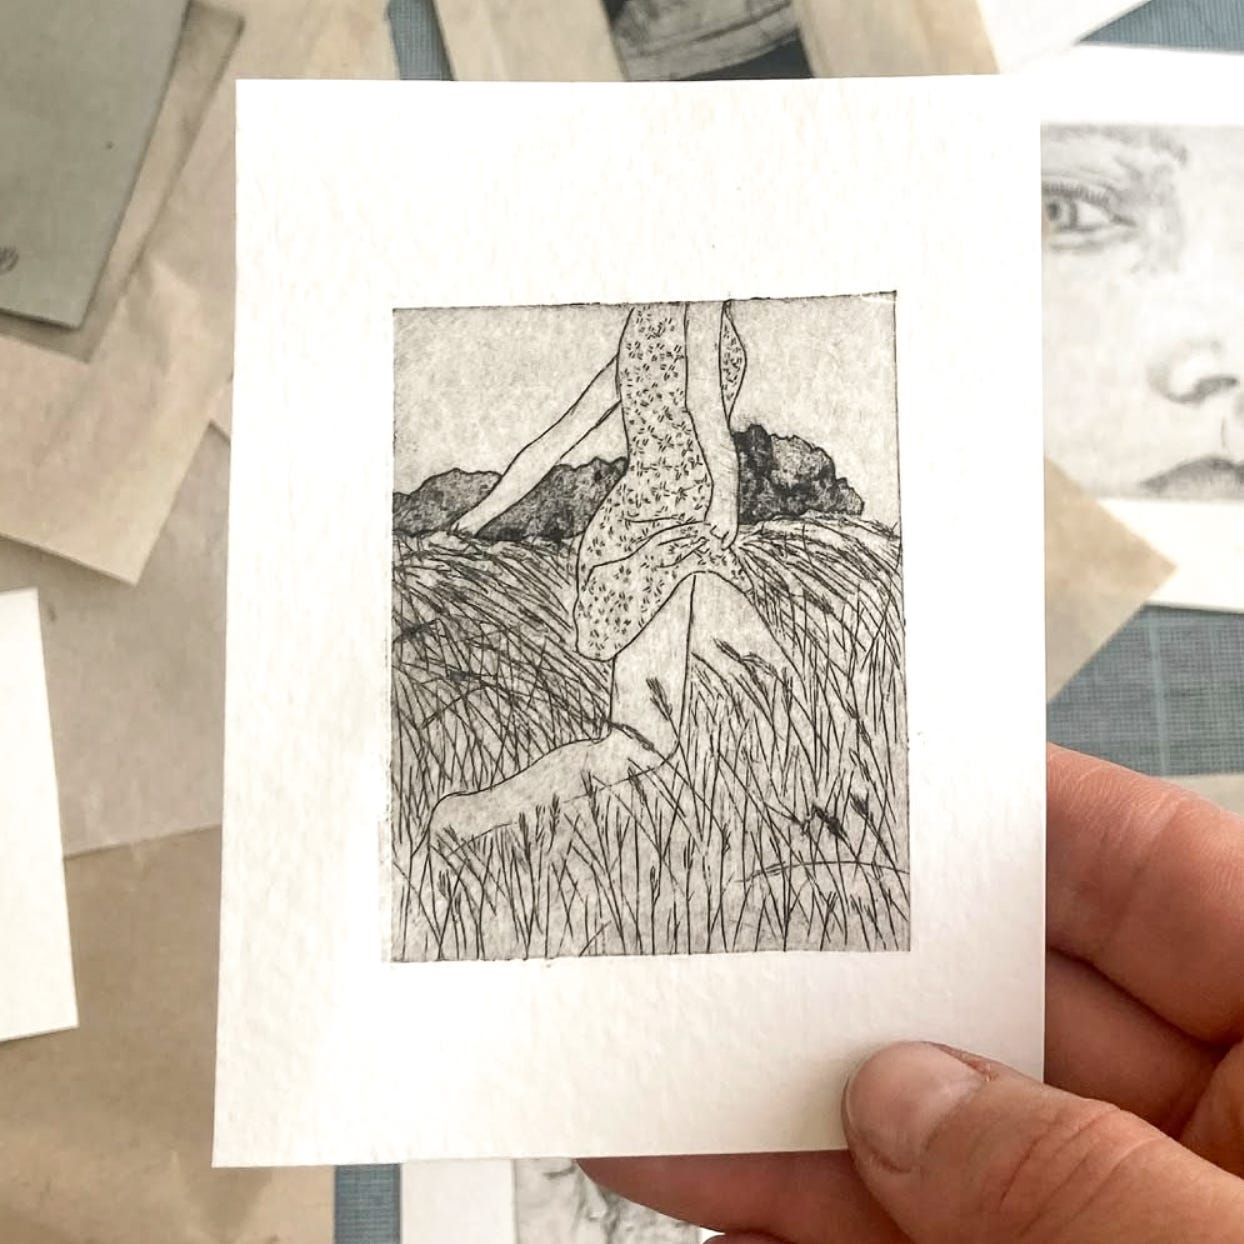
Here is our little tutorial
The generosity of others is astounding. Here are some Print Makers who shared bits of advice and whose work is a delight to see!
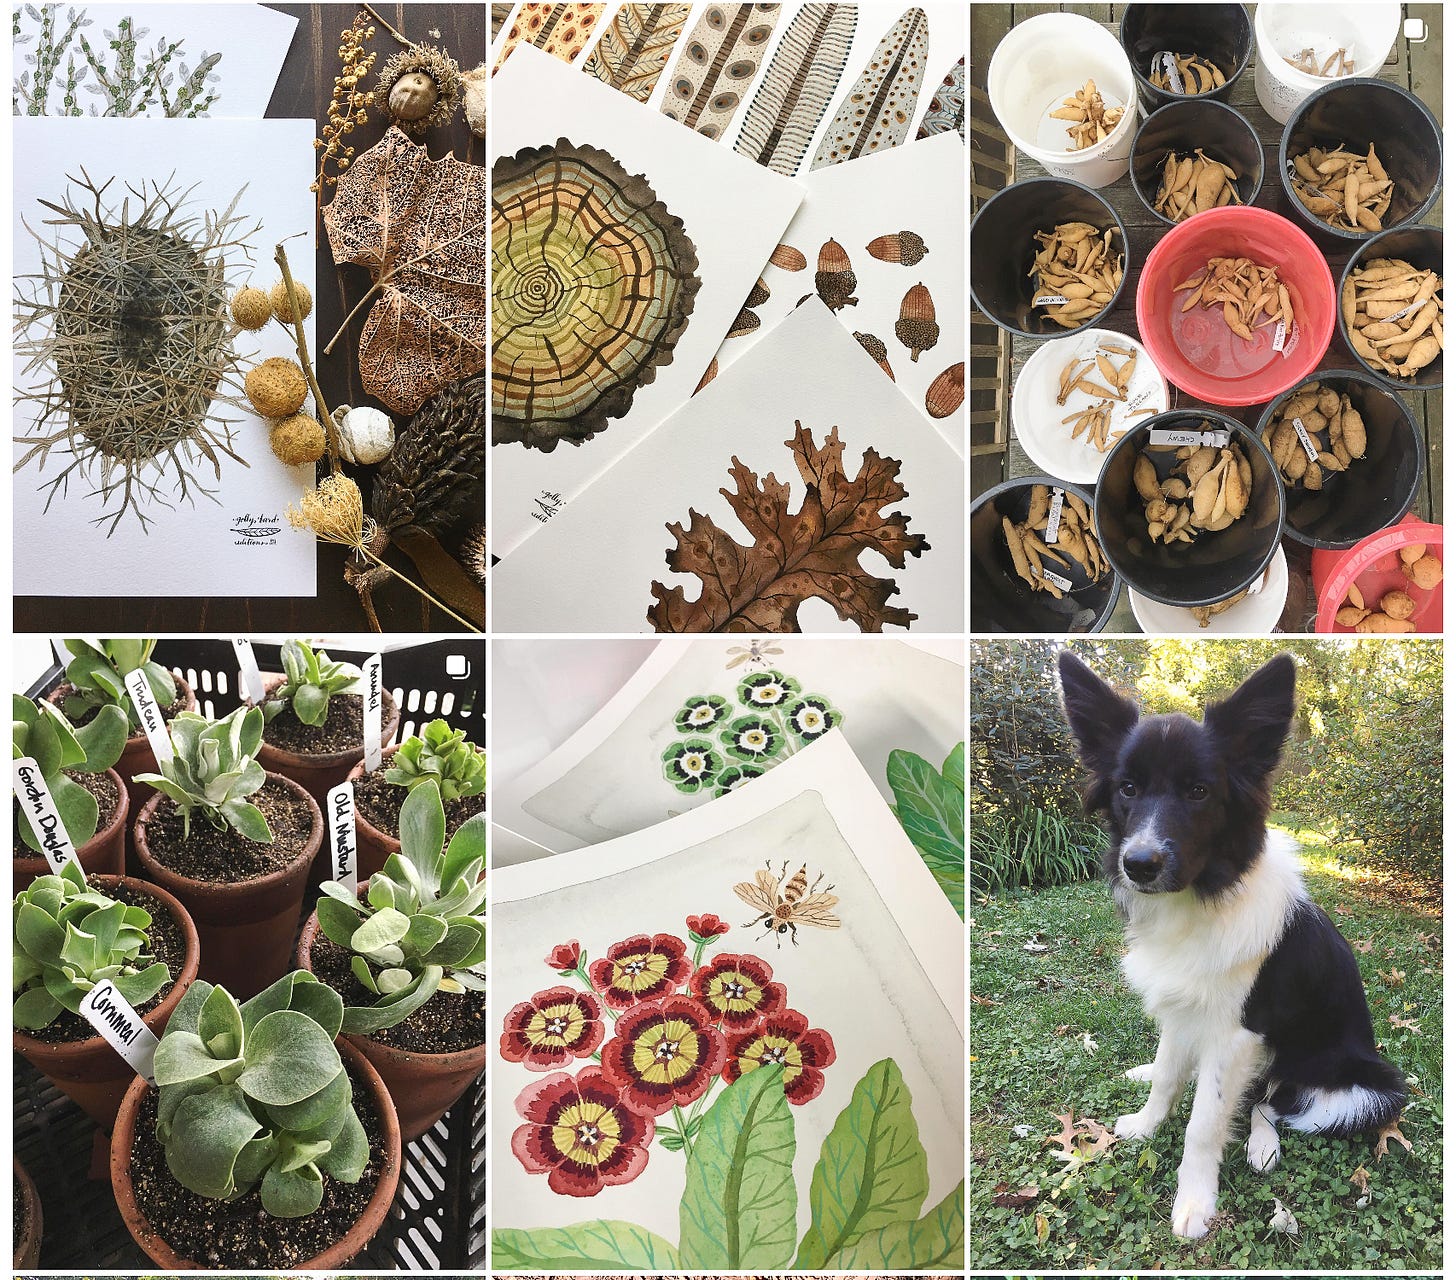
Holly of Golly Bard shared the blotter tip and I’ve loved her work for years now as I believe we started out on Etsy around the same time! Whilst I don’t see any prints recently on her Instagram, her paintings and plants bring me back to her work over and over again.
Katie Van Vliet gave me the simple suggestions to get a deeper impression - put the plate on the bottom! Which reminded me that Walter and I - and the boys? did a copper plate workshop? Day? With Katie a few Margauxs ago. A few everybodys ago.
Monty Lee (whom I will be cohosting a Tetra Pak challenge with soon(ish) offers so much inspiration and exuberance!

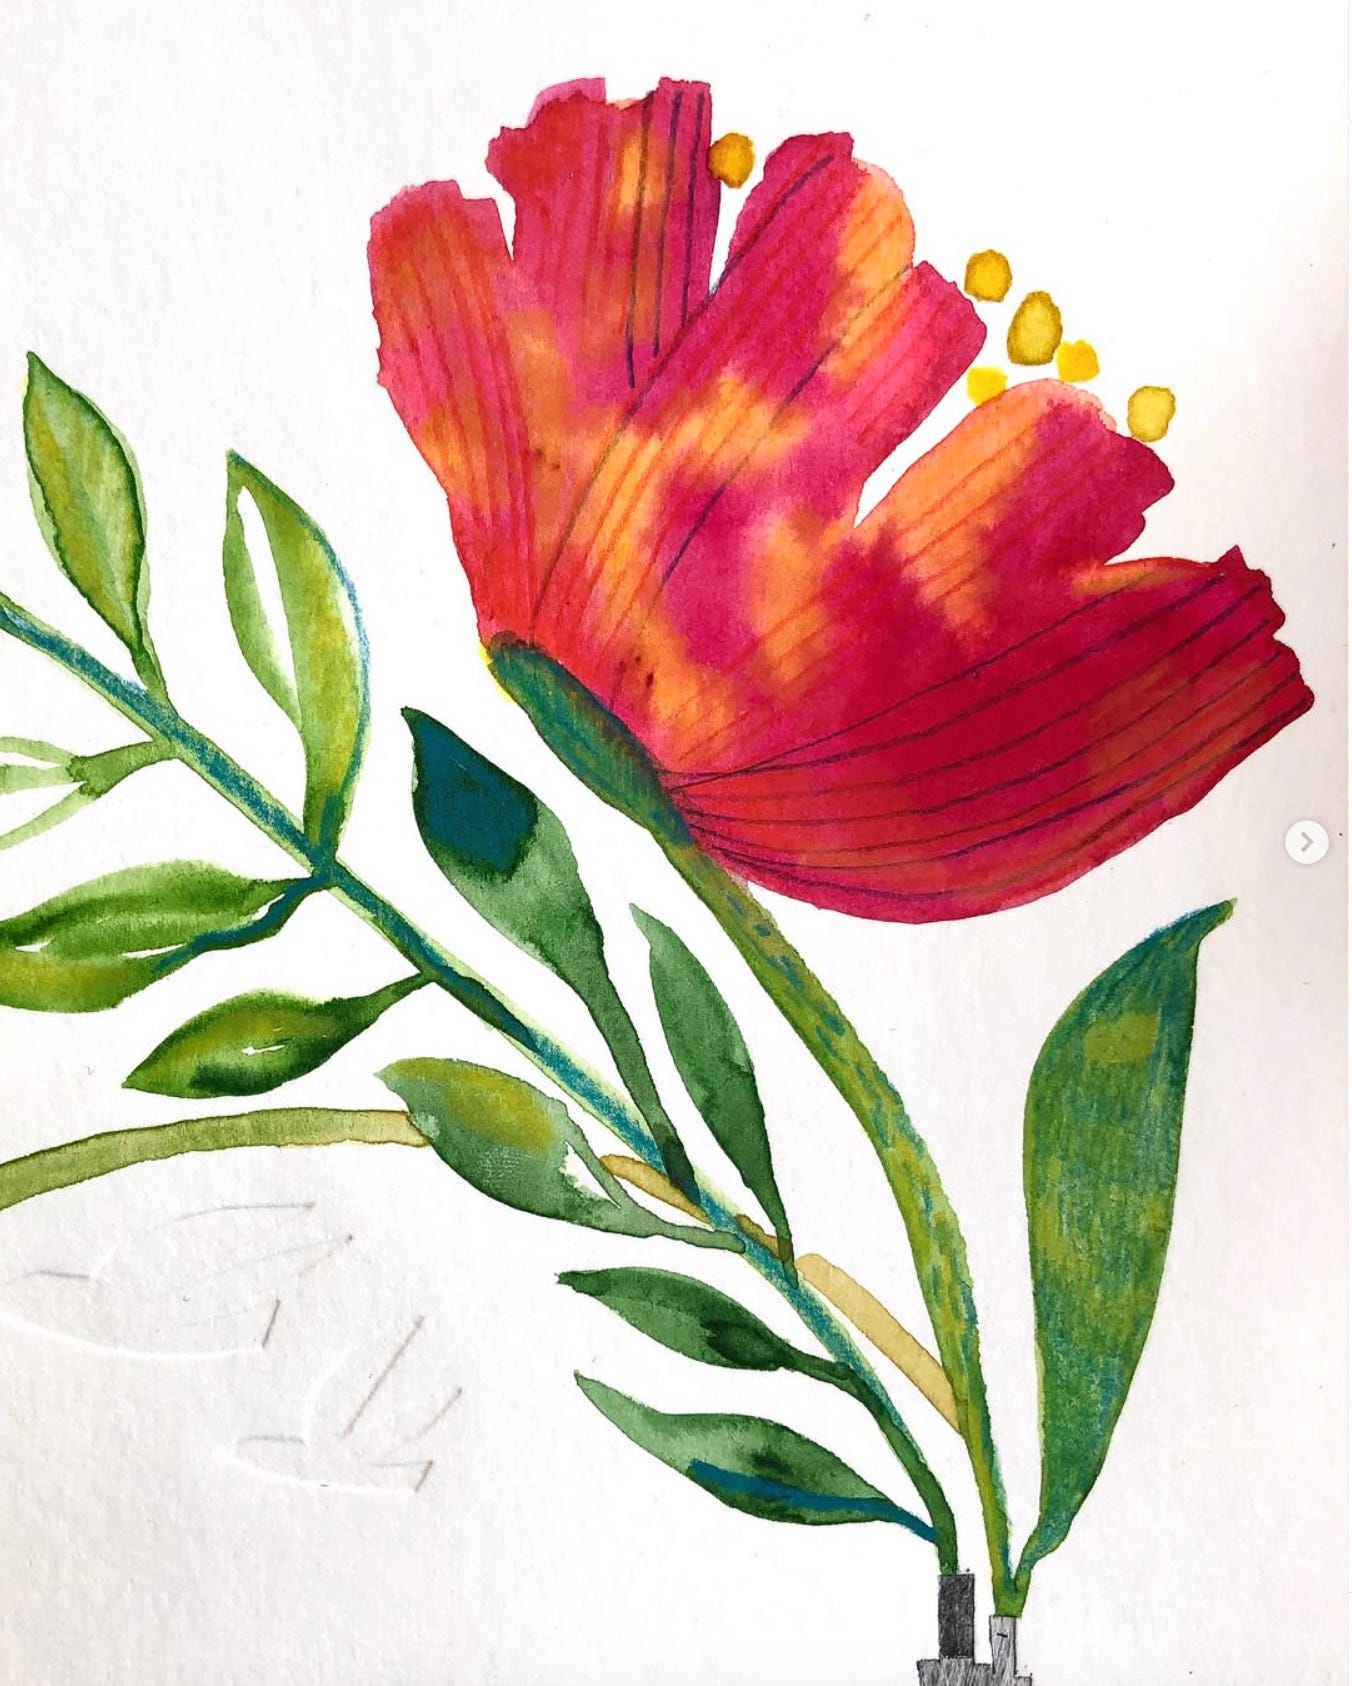
Lisa Stubbs whose colour and cut outs open up so many options I may explode.
Lea of @kitchengravurebylea whom I learned about the Noodle Press from!


Phew!
Love,
Margaux
So generous of you! Thanks again 🌞
Oh my word!!!
Thank you for this inspiration 🌱🌿💚